
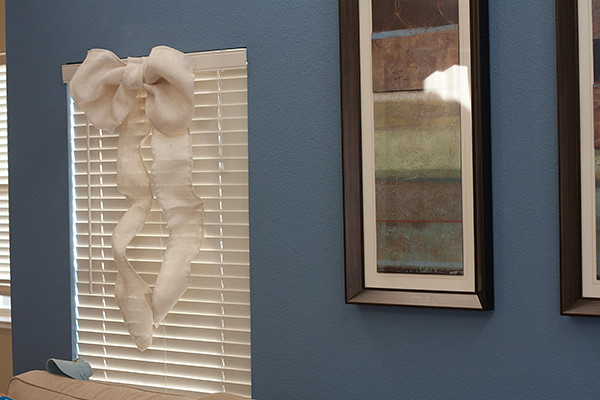
how to make your own holiday window bows
This Christmas, I wanted to decorate our living room windows with something out of the pages of a Pottery Barn holiday catalog. But the cost of draping 6 windows in pine needle swag just wasn’t that appealing… and when I attempted to make a pom-pom garland two years ago, it came up looking tiny and small in such a large space. So instead, I decided to go Disneyland style and make oversized bows for each window.

Essentially, you’re just going to make your own GIANT WIRED BOW… out of whatever you’d like! I chose to make mine out of burlap because it was nice and cheap and I love the natural/rustic aesthetic it brings out at Christmas. (Plus, it allows for your imperfections to be hidden really easily!)
Materials (for 4-5 bows)
- 1.5 yards of burlap fabric (for each bow)
- Brass brads (4-5 per bow)
- Picture hanging wire
- sewing machine & thread
Directions
1. Cut your burlap into strips – you’ll need a 16” wide strip for the bows, and 2 8” wide strips for the bow tails. Additionally, you’ll need one strip of 16” wide fabric to cut into pieces for the center piece of the bow – put this to the side and do nothing with it.
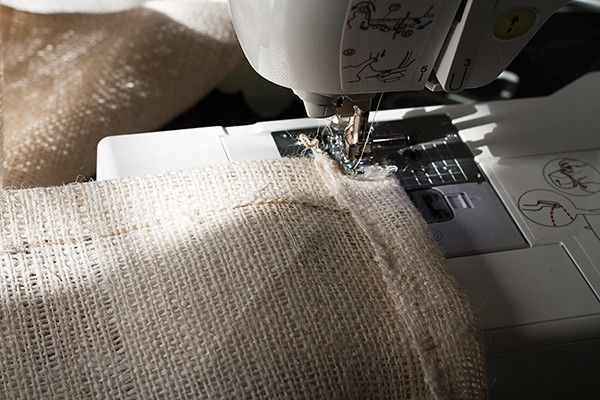
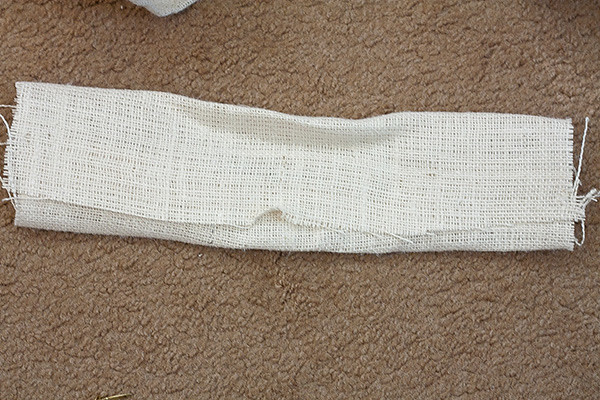
2. Sew a 1” hem (for the wire to slip into) along each long side of all 3 pieces of fabric.
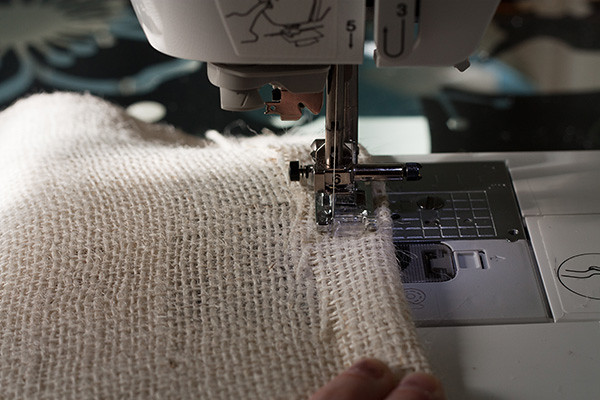
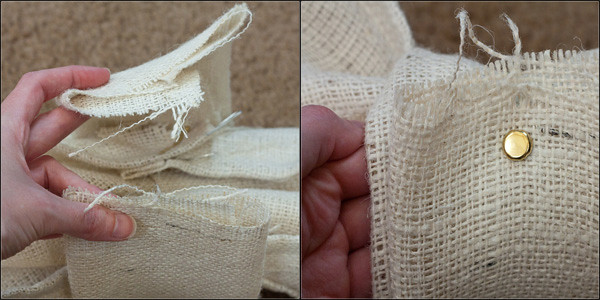
3. Finish off the end of one short side on each of the pieces.
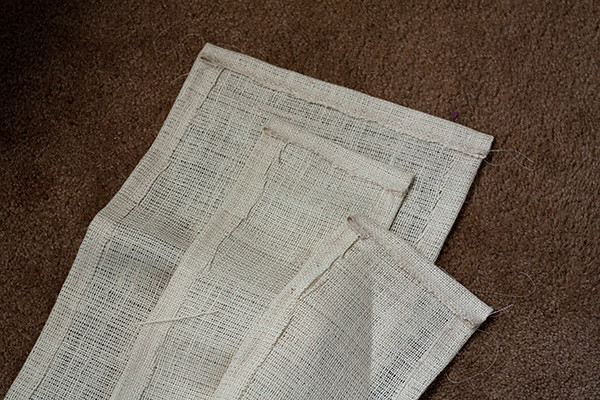
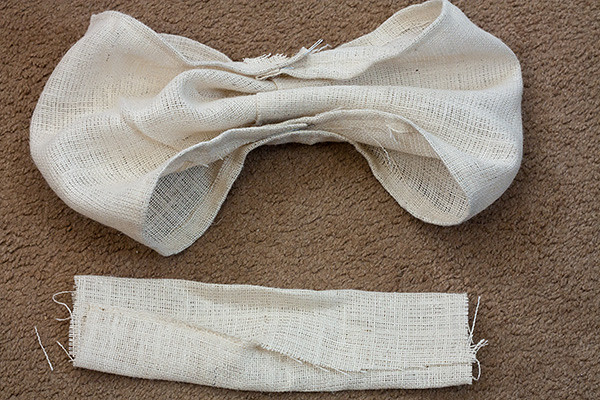
This is what your 3 pieces will look like:
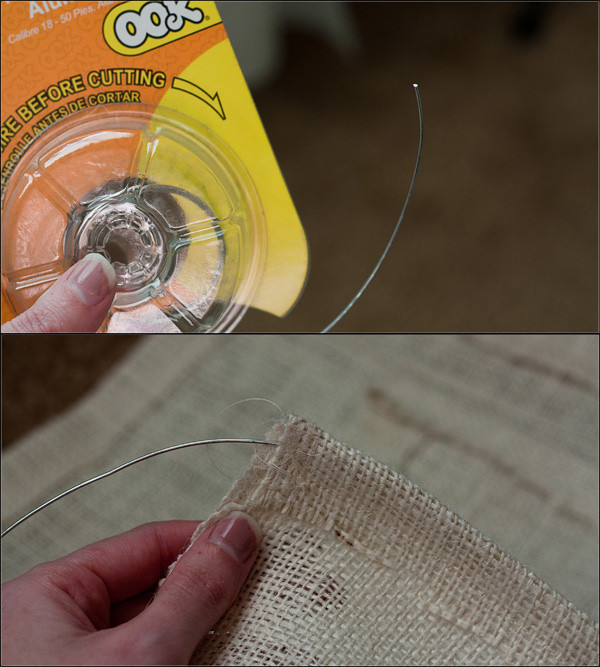
4. Cut lengths of wire about 4” longer than what you need for each piece. Then feed the wire through the open end all the way through each piece of fabric. Repeat 5 times with each other open sleeve. After it’s fed all the way through, simply pinch it over to keep it in place.
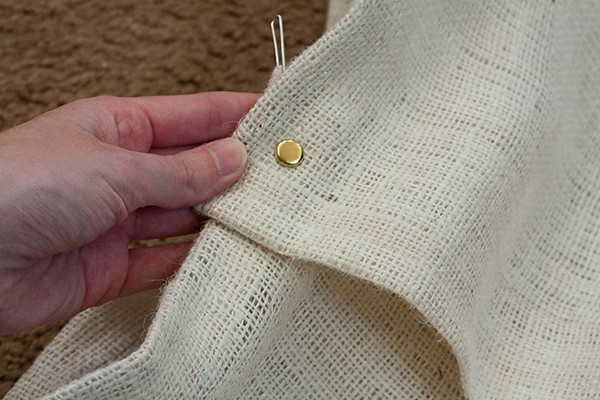
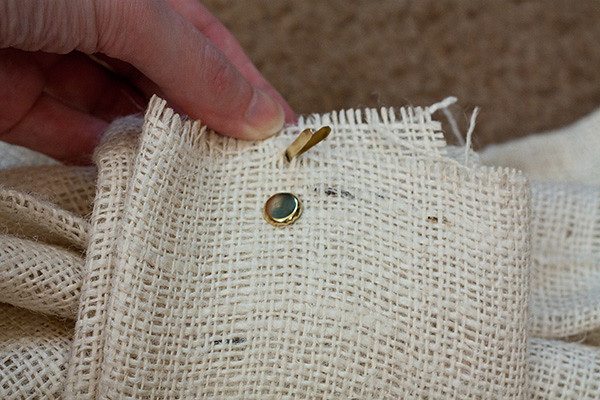
5. Take the largest piece (the bow) and loop it around on itself to make a large hoop. Secure it using a brass brad. Simply poke it through the outside layers and open it up on the other side to secure! Place a second one at the bottom half of the fabric as well.
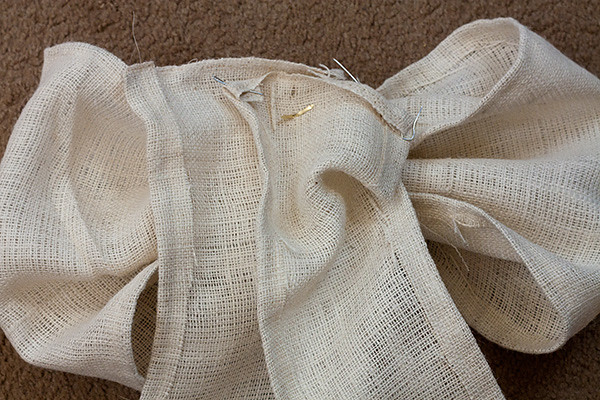
6. Now time to create the bow-ish part! Lay your fabric down so that the connected part of the circle is in the middle-back. Then pinch the entire bow (both layers) in the center lengthwise. Then create two more pinches on the top and bottom for three total. Lay it to the side.
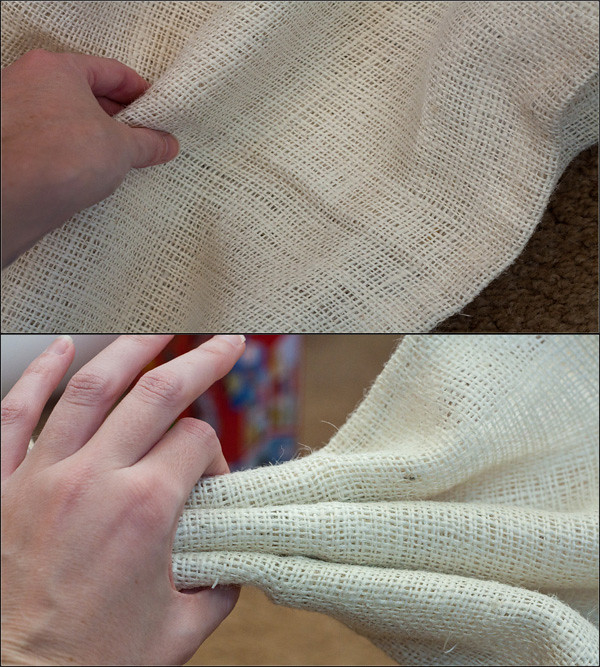
7. Pick up your saved/non-hemmed piece of burlap and cut it into a strip 8-10” wide. Then create a trifold so that it’s about 6” wide.
So now you’ve got a pinched bow and a strip of fabric for the bow middle!
8. Wrap the little strip around the center of your bow. It’s up your judgment to see how tight you want it, but if you need to cut the center strip shorter, feel free to do so!
Secure the piece by, once again, using a brass brad. Poke it through all layers of the short strip and fasten it.
9. Now, take one last brad and poke it up from the underside of the center piece.
Now layer both of the bow-end strips on top of the back of the bow. [Make sure that the finished ends are at the bottom of bow-ends] Poke the brad end up through both of the bow-ends and secure it. You can use one more brad here to add some extra strength as well.

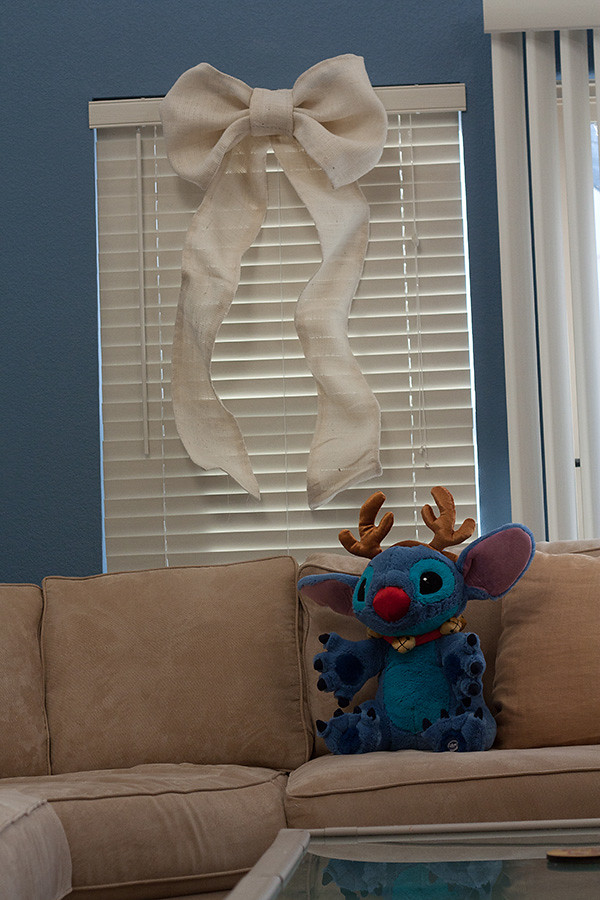
10. Hang up your bows over the windows and bend the wires as you like! I used my arm as a molding shape to get the rolling curves in it… but just think about what you would do with normal wired bows and mimic it on a large scale!

p.s. Why did I use brads to secure my bow instead of sewing everything?? Well… I was thinking ahead for storage. I wanted to be able to undo the bow and lay the pieces flat each year so that they would take up less room in a Christmas box! While it’d be lovely to have these all in one box just to hang up in a few minutes, I figured the 10 minutes of assembly would be worth it for the savings in storage room!


4 Comments
Marissa
These turned out so beautifully, Kim! I love the look of that linen-colored burlap. Brilliant idea on the use of brads, too!
Mrs H
love it! you are so talented!
Ms. Zhukeeper
I know this is old, but I LOVE this!!
Pingback: